
Five days in Tokyo: where to spend your time
This route suits a first Tokyo trip with four nights in Shinjuku, a daytime arrival, an evening departure and one Disney day. Give two full days to the city and one to Disney; keep arrival and departure days lighter.
| Day | Main route | Decide first |
|---|---|---|
| Day 1 | Airport → Shinjuku → Metropolitan Government Observatory → dinner | Skip the observatory if arrival runs late |
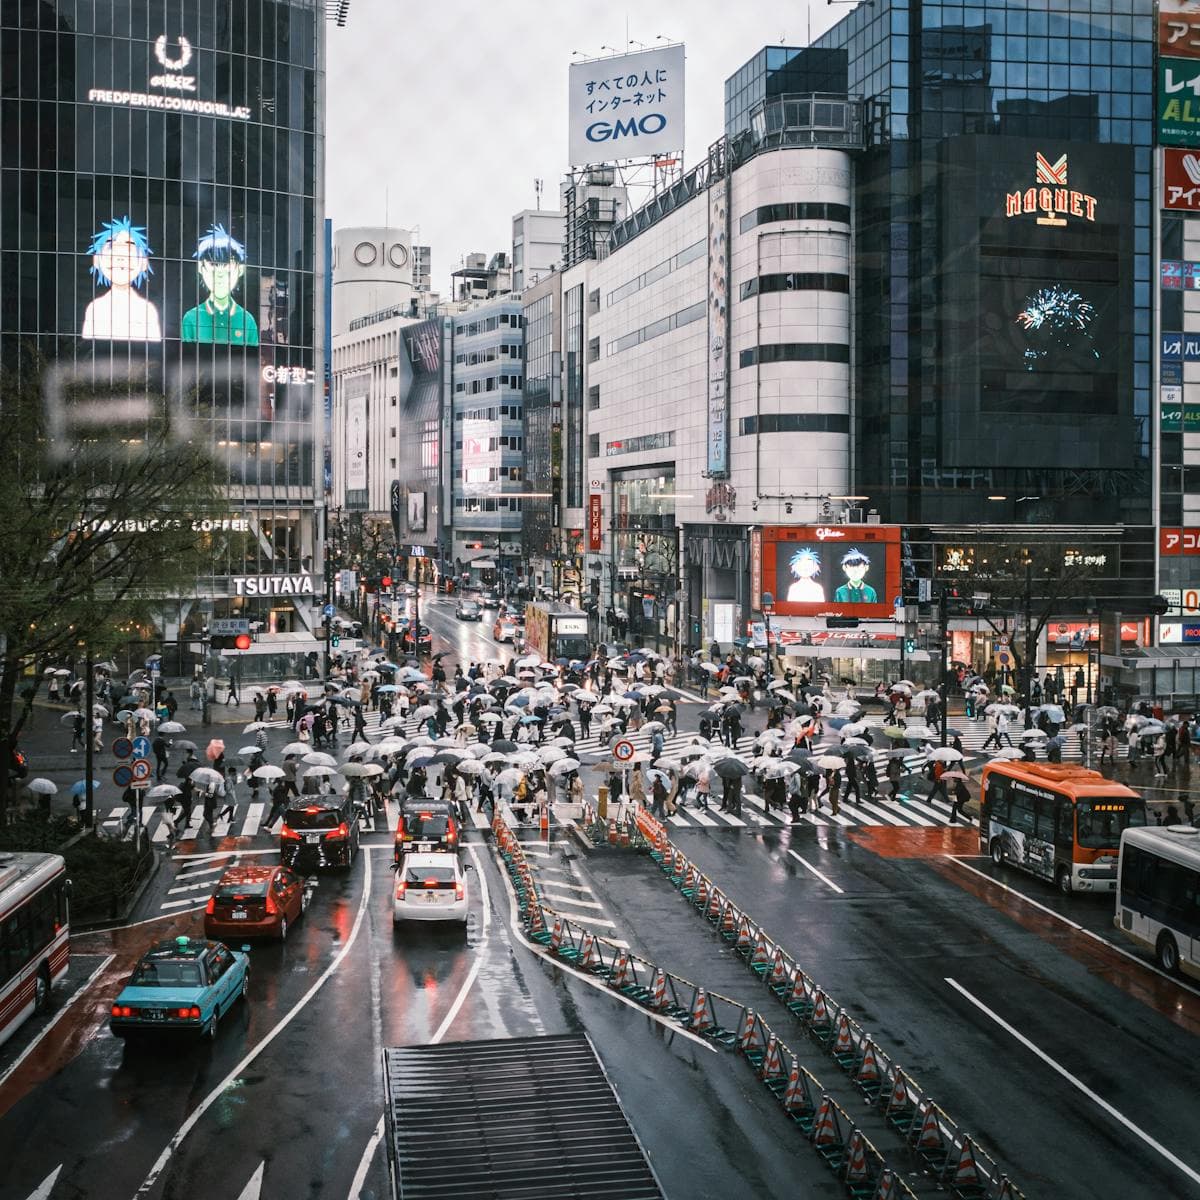
| Day 2 | Shibuya → Harajuku·Meiji Shrine → Omotesando | Arrange the route around your Shibuya Sky slot |
| Day 3 | Ueno → Asakusa → Skytree | Check the museum calendar and dated observatory price |
| Day 4 | Tokyo Disneyland or DisneySea | Pick one park for the attractions your party wants |
| Day 5 | Luggage storage → Tokyo Station → airport | Add Odaiba only with a late evening flight |
Times below are planning examples, with space for meals and rest. Adjust them to your flight, hotel check-in, trains and operating calendars. The stops are choices, not a list you must finish.
Before departure: entry, connectivity and payment
| Prepare | What to do | Conditions |
|---|---|---|
| Passport and visa | Check Japan's requirements for your passport and purpose | Visa exemption is not universal; duration and eligibility differ by nationality |
| Visit Japan Web | Register arrival and customs details; prepare your QR and passport | It does not replace a visa or permission to enter. Check official alternatives if you cannot use it |
| eSIM or roaming | Compare device support, data and activation date | A five-day offer is not automatically the cheapest option |
| Suica or PASMO | Use a transport IC card for this JR-and-subway route | Top up in advance; limited express and reserved-seat charges are separate |
| Cash and cards | Carry cash for cash-only payments and a backup card | You do not need your whole budget in cash; check foreign ATM fees and card support |
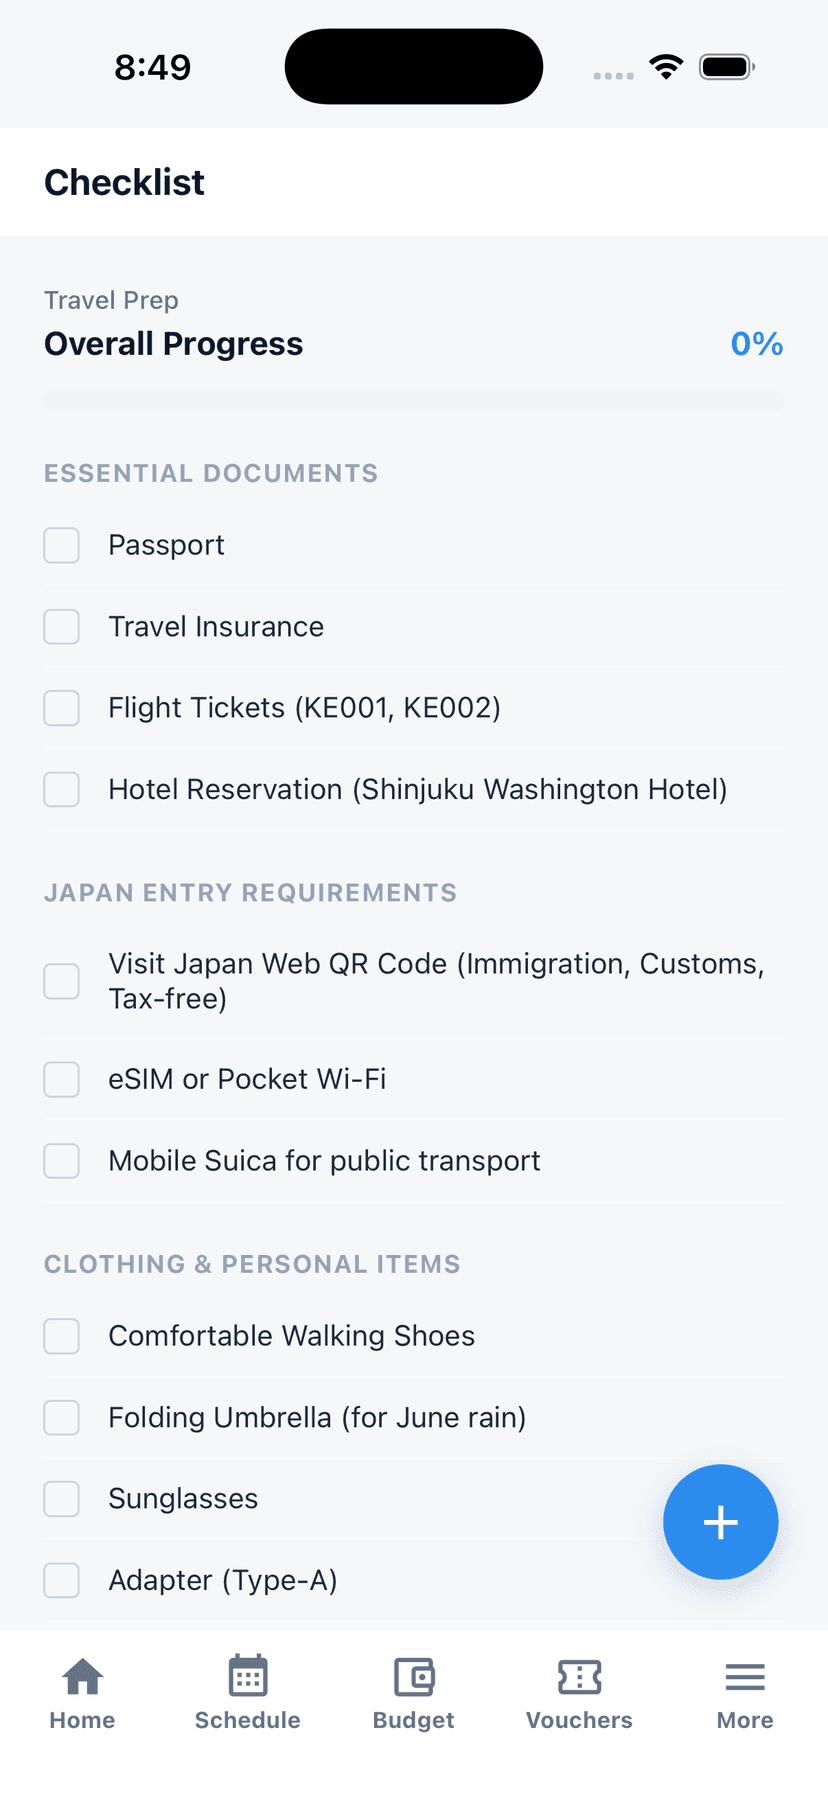
| Power and rain | Check Japan's Type A plug and your device's voltage rating; pack an umbrella and comfortable shoes | A plug adaptor does not convert voltage |
Do not buy a subway pass before checking the route. A Tokyo Subway 72-hour Ticket costs ¥2,000 per adult and covers Tokyo Metro and Toei Subway. JR, airport limited expresses and Yurikamome are excluded. Compare the subway fares you will actually use. A nationwide Japan Rail Pass is not the default for this city-only itinerary.
Supported contactless bank cards work on participating subways and private railways, but cannot continue onto JR. Use the same card and device when entering and leaving. Mobile Suica compatibility depends on the phone and market; choose a physical IC card if your device cannot use it.
Airport transfers: getting to and from your hotel
Fares below are JPY per adult, one way. Time allowances are planning estimates before waiting and the walk to the hotel; confirm your actual train.
| Hotel area and airport | Airport → hotel | Hotel → airport |
|---|---|---|
| Shinjuku·Shibuya / Narita | A stopping N'EX service, ordinary class ¥3,330. Allow roughly 80–100 minutes to Shinjuku | Reserve an airport-bound train; ¥3,330 from Shinjuku. Check terminal and service time |
| Tokyo Station / Narita | N'EX ordinary class ¥3,140, then onward to your hotel | Tokyo Station → Narita ¥3,140. Allow time inside the station and to collect bags |
| Shinjuku / Haneda T3 | Keikyu → JR transfer at Shinagawa. Keikyu IC fare ¥327 plus JR fare; allow roughly 45–60 minutes | JR → Shinagawa → airport-bound Keikyu. JR fare plus ¥327 IC. Distinguish T3 from T1·T2 |
| Via Hamamatsucho / Haneda | Tokyo Monorail → JR at Hamamatsucho | Reverse the route; check the fare for your terminal and pay the JR fare separately |
Buying and using tickets
- At Narita, prepare the N'EX basic fare and limited express ticket at a JR EAST Travel Service Center, ticket office, reserved-seat machine or official reservation website. A Suica balance alone does not provide a reserved express seat.
- The N'EX TOKYO Round Trip Ticket is ¥5,200, valid 14 days and intended for non-Japanese nationals holding foreign passports. For a Narita return, it costs ¥1,460 less than two ¥3,330 Shinjuku singles. That comparison does not apply if you leave from Haneda. Present your own valid original passport and arrange trains and seats for both journeys.
- From Haneda, choose Keikyu or the monorail according to the hotel connection. Leave time to change trains with bags at Shinagawa or Hamamatsucho. If avoiding transfers matters, compare an airport bus serving a stop near your hotel using its operator's route and timetable.
Work backwards from your flight. This guide plans arrival at the airport three hours before an international departure. For a 20:00 flight, aim for the airport at 17:00, then add train, transfer and luggage-collection time to decide when sightseeing ends. Airline deadlines take priority. Early morning and late-night flights need a separate first/last-service check.
Group the city by area
| Area | Stops to group | Route decision |
|---|---|---|
| West A | Shinjuku·Government Observatory·Kabukicho | Stay near the hotel on arrival day; check station exits |
| West B | Shibuya·Harajuku·Meiji Shrine·Omotesando | Combine JR and walking; do not require every leg on foot |
| East | Ueno·Asakusa·Oshiage | Continue by subway instead of returning to the hotel midway |
| Tokyo Bay | Disney at Maihama / Odaiba | Separate destinations: do not add Odaiba to the Disney day |
Day 1: leave your bags and explore Shinjuku
Shinjuku works as a base for combining JR and subway journeys, but its large station does not make every hotel convenient. The Government Building and skyscrapers are west of the station; Kabukicho and many shopping streets are east. Save the exit for your actual hotel and leave your suitcase there before crossing between the two sides.
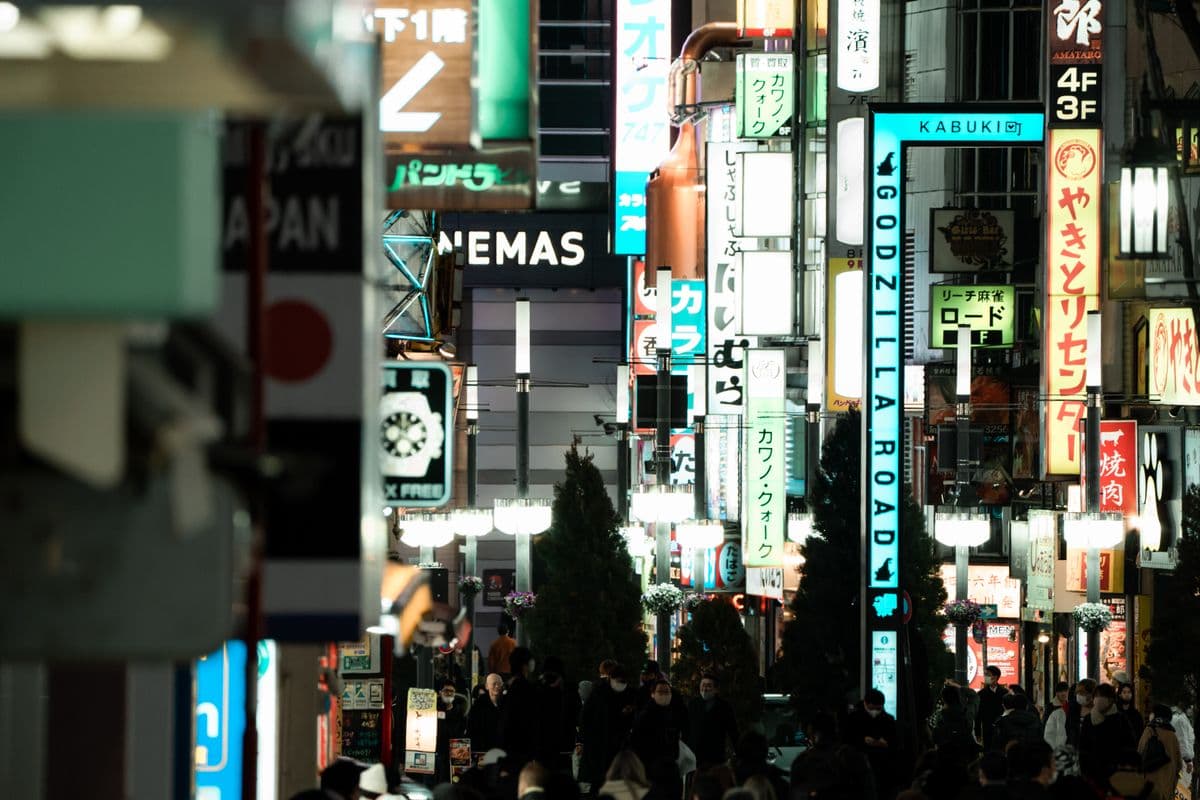
Use the Government Observatory to see how the city spreads out. Kabukicho then offers a walk past signs and businesses, while Omoide Yokocho is a possible stop for a meal in a small restaurant. Once you have eaten, there is no need to visit both evening areas: head back towards your hotel if tired.
Arrival, a meal and the observatory
| Planning time | Stop | Adjustment |
|---|---|---|
| Daytime | Entry formalities → airport rail → hotel bag drop | A 13:00 hotel check-in is not guaranteed |
| 14:30 | Late lunch in Shinjuku | Choose Ichiran tonkotsu or Menya Musashi tsukemen |
| 16:00 | Metropolitan Government Observatory | Skip if delayed; check closure days |
| After 18:00 | Dinner → Kabukicho·Omoide Yokocho | Return to the hotel after dinner if tired |
The free Government Observatory is 202m above ground. The south room usually opens 9:30–22:00, last admission 21:30; the north usually closes 17:30, last admission 17:00. Check regular closures and north-room evening extensions when the south is closed. Advance reservations are not accepted.
One meal, then an optional walk
Choose one ramen stop rather than scheduling two consecutive ramen meals. Ichiran's tonkotsu, Menya Musashi's tsukemen and Omoide Yokocho yakitori are meal ideas; confirm the specific branch, menu, price and hours before visiting.
Day 2: build around your Shibuya Sky reservation
Morning views, afternoon in Harajuku
| Planning time | Stop | Adjustment |
|---|---|---|
| 10:00 | Shibuya Crossing → Shibuya Sky | This table assumes a morning ticket |
| 12:00 | Lunch in Shibuya | Check queues and menus at options such as Uobei |
| 13:30 | Meiji Shrine | Visit within its seasonal opening hours |
| 15:00 | Takeshita Street, Harajuku | Shorten shopping if crowded |
| After 16:30 | Omotesando → dinner | Shibuya 109·PARCO are optional extra shopping |
What to do in Meiji Shrine, Harajuku and Omotesando
At Meiji Shrine, allow for the approach through the wooded grounds from the Harajuku entrance to the main sanctuary. A photo at the torii gate and a visit all the way to the sanctuary require different amounts of walking. If the shrine and its wooded approach interest you more than shopping, give them priority and finish before the seasonal gate closing time. Shrine admission is free; the museum and Inner Garden have separate visiting conditions.
Takeshita Street is for clothes, accessories and snack shops. It has a clear purpose if you want Harajuku fashion or small souvenirs; without a shopping goal, or if crowds are tiring, you do not need to walk its full length twice. Return towards Harajuku Station after the shrine to start the shopping part of the afternoon.
Omotesando pairs a tree-lined shopping boulevard with distinctive buildings. You can look at shop windows and buildings such as Omotesando Hills without buying anything. Finish with dinner in this area. Return to Shibuya only if you have specific shopping at 109 or PARCO; for a sunset Shibuya Sky ticket, visit Harajuku and Omotesando first and finish in Shibuya at your booked time.
Three things to check before booking
- The price changes at 15:00, not at sunset. Adult web admission, ages 12+ (12-year-old elementary pupils use the child ticket), is ¥2,700 through 14:59 and ¥3,400 from 15:00. Adult counter prices are ¥3,000 and ¥3,700 respectively.
- Official tickets go on sale up to two weeks ahead. Adult web sellout also means counter sellout. For sunset, use the date's actual sunset time and reverse the morning/afternoon route around your slot.
- Rain, wind or extreme heat can restrict outdoor access. Read ticket-change, refund and luggage rules before booking. Indoor exhibits and the open-air view are different experiences.
The 229m observatory normally operates 10:00–22:30, with last admission at 21:20; special schedules take priority. If yakiniku is your dinner priority, a reservable branch such as Toraji can be a candidate for this day.
Day 3: Ueno, Asakusa and Skytree
Decide where to linger
| Planning time | Stop | Adjustment |
|---|---|---|
| 09:30 | Ueno Park·Tokyo National Museum | Swap with Day 2 or focus on the park if the museum is closed |
| 12:00 | Ameyoko lunch | Have a snack instead if planning Daikokuya tendon in Asakusa |
| 14:00 | Kaminarimon → Nakamise → Senso-ji | Temple and shop hours are different |
| Late afternoon | Skytree → Solamachi dinner | Use your ticket time and that day's sunset |
Tokyo National Museum's collection exhibitions cost ¥1,000 per adult; special exhibitions are separate. Normal hours are 9:30–17:00, with last admission 30 minutes before closing and extended days including Fridays and Saturdays. Mondays are normally closed, with holiday exceptions: check the calendar.
Decide what you want from the museum before filling the morning. Tokyo National Museum's Honkan introduces Japanese art, and this itinerary does not leave time to cover every museum building. Focus on the Honkan for a first look at Japanese art; if a particular special exhibition is your priority, give it the morning and shorten Ameyoko and Asakusa. Displays rotate, so check the exhibition list if a specific work is the reason for your visit.
Ameyoko adds shops and food to the route. A long museum visit followed by both a market lunch and an Asakusa tendon meal will push back the afternoon. If you eat in Ueno, keep Asakusa to a snack; if tendon is the meal you want, keep the market visit brief.
Senso-ji: prayer time and shopping time
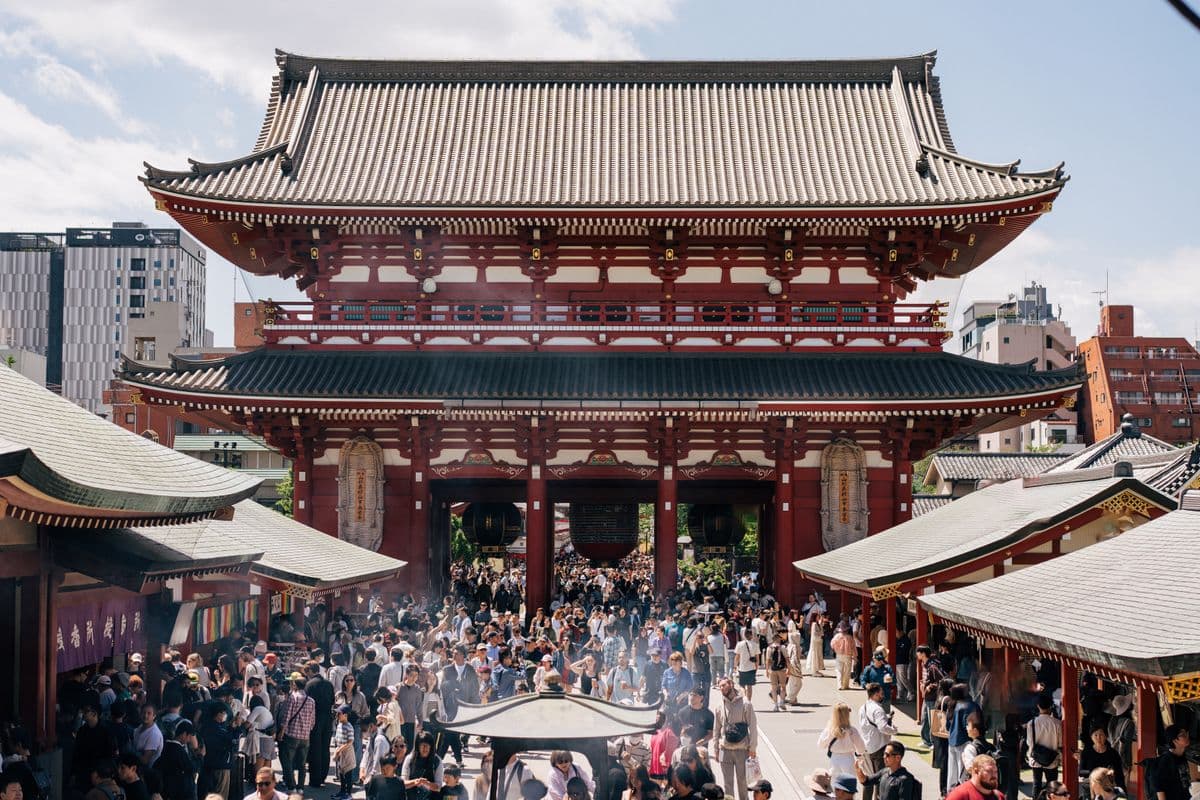
Senso-ji's history begins with the finding of the Kannon statue in 628; a hall was built in 645. Nakamise offers snacks such as ningyo-yaki and melon bread, with prices and hours set by individual shops. Main-hall hours are normally 6:00–17:00, starting 6:30 from October to March; temple admission is free. Choose between an early visit and seeing more shops open later.
Skytree: choose the floor before the ticket
The tower's 634m height is different from its viewing floors: Tembo Deck is 350m and Tembo Galleria 450m. Adult web tickets, ages 15+ (junior-high students use child tickets), start at ¥1,800 for the Deck or ¥3,000 for the combination, with date-based pricing. Buying at the fourth-floor counter or machine adds ¥500 per ticket. Check opening hours for your visit date.
To see the change from daylight to evening, book with room before that day's sunset. Dinner in Solamachi avoids moving to another district afterwards.
Day 4: spend a day in one Disney park
Pick by the experiences you want
Choose Disneyland for classic attractions and parades, or DisneySea for Fantasy Springs, Soaring and the ocean theme. Children's interests and attraction height restrictions matter more than a simple adults-versus-families split. Both parks have venues serving alcohol, but choose the park for its program.
Any guest admitted to DisneySea can enter Fantasy Springs and use the regular attraction queues. DPA is an optional paid service. Check the official access guidance before your visit.
| Order | Action | Condition |
|---|---|---|
| Before travel | Buy a dated, park-specific ticket and prepare the official app | A 1-Day Passport starts at ¥8,900 for adults 18+; use the selected date's price |
| Morning | JR Keiyo·Musashino service to Maihama | Allow for the Tokyo Station transfer from Shinjuku; do not assume a flat 30 minutes |
| After entering | Check queues and DPA for your priority attractions | DPA is separately paid and limited |
| Daytime | Meals, breaks and attractions | Check show and parade times in the app |
| Evening | Your chosen night program → hotel | Plan your return around park closing and your actual train departure |
Entry, DPA and dining are separate bookings
- A normal 1-Day Passport covers one park. A limited-period Park Hopper is sold separately and allows switching from 11:00 subject to its terms; it is not included in this itinerary's budget. For more time in both parks, replace another sightseeing day or extend the trip.
- Buy DPA after entering, through the official app. For example, Soaring and Frozen cost ¥2,500 per person per access, separate from entry. Another different attraction's DPA can be bought after 60 minutes or the purchased slot's start time, whichever is earlier. Shows/parades have a separate purchase interval; availability and operations can change.
- Only Priority Seating restaurants accept this advance dining request. Standard booking runs from 10:00 one month before dining until 20:59 the day before, in Japan time. Planning lunch at 11:30 or 13:30 does not guarantee a booking or eliminate waiting.
Day 5: set the airport arrival time first
Tokyo Station by default; Odaiba only with enough time
| Order | Default route | With a late evening flight and spare time |
|---|---|---|
| Check-out | Decide where to store and collect bags | Skip Odaiba if it forces a return to Shinjuku for bags |
| Morning·lunch | Tokyo Station red-brick building·Character Street | Yurikamome to Odaiba → DiverCity Gundam statue → lunch |
| Afternoon | Essential shopping at Daimaru or nearby | Choose Ramen Kokugikan in Odaiba or a Tokyo Station meal |
| End sightseeing | Collect bags → booked airport transport | Drop extras if they compromise the three-hour airport buffer |
Going to Odaiba does not mean you also need to finish every Tokyo Station shop. Check the official schedule for outdoor Gundam performances or shop events, and let the flight determine the timetable.
At Tokyo Station, choose the exit and shopping goal
See the red-brick building from the Marunouchi side; Character Street is in First Avenue Tokyo Station on the opposite, Yaesu side. First Avenue is outside the ticket gates, so you do not need a train ticket just to shop there. For character merchandise, locate your intended shop first; for the station architecture, a Marunouchi photo stop can be enough before the airport journey.
On departure day, use this area for your meal and gifts instead of adding a distant restaurant. Save one route linking bag storage, its collection hours and your airport train platform. Allow time to navigate the station so a final purchase does not cost you the booked train.
Change the plan for your party and weather
| Condition | Day | Remove or shorten | Replacement and reason |
|---|---|---|---|
| Small children·limited walking | 2·3 | Some Omotesando shopping or museum time | Linger in one area with breaks; no extra sightseeing on Disney day |
| Rain·outdoor viewing restricted | 2 | Expectation of an open-air Shibuya Sky visit | Indoor shops or exhibitions; check refund conditions before changing |
| No interest in Disney | 4 | Disney day | teamLab Borderless in Azabudai Hills and Tokyo Tower surroundings: indoor art plus an exterior evening walk |
| Anime·electronics shopping | 3 | Museum or Skytree | Time in Akihabara; do not assume every product is cheaper than elsewhere |
| Repeat visit·day trip wanted | 4 | Disney day | A separate Kamakura or Yokohama day trip, replacing a day rather than adding it |
| Early afternoon departure | 5 | Odaiba·Tokyo Station shopping | Head to the airport after check-out, allowing for bags and transfers |
teamLab Borderless is in Azabudai Hills, not Odaiba. Access it via Kamiyacho Station Exit 5. Standard adult tickets, ages 18+, vary from ¥3,600 to ¥5,600 by date. Timed tickets can sell out; read the official purchase's change conditions and non-cancellation terms. Other sellers apply their own change and refund rules.
Akihabara’s Chuo-dori pedestrian hours are Sundays 13:00–18:00 in April–September and 13:00–17:00 in October–March. Bad weather, year-end periods or temporary notices can cancel them.
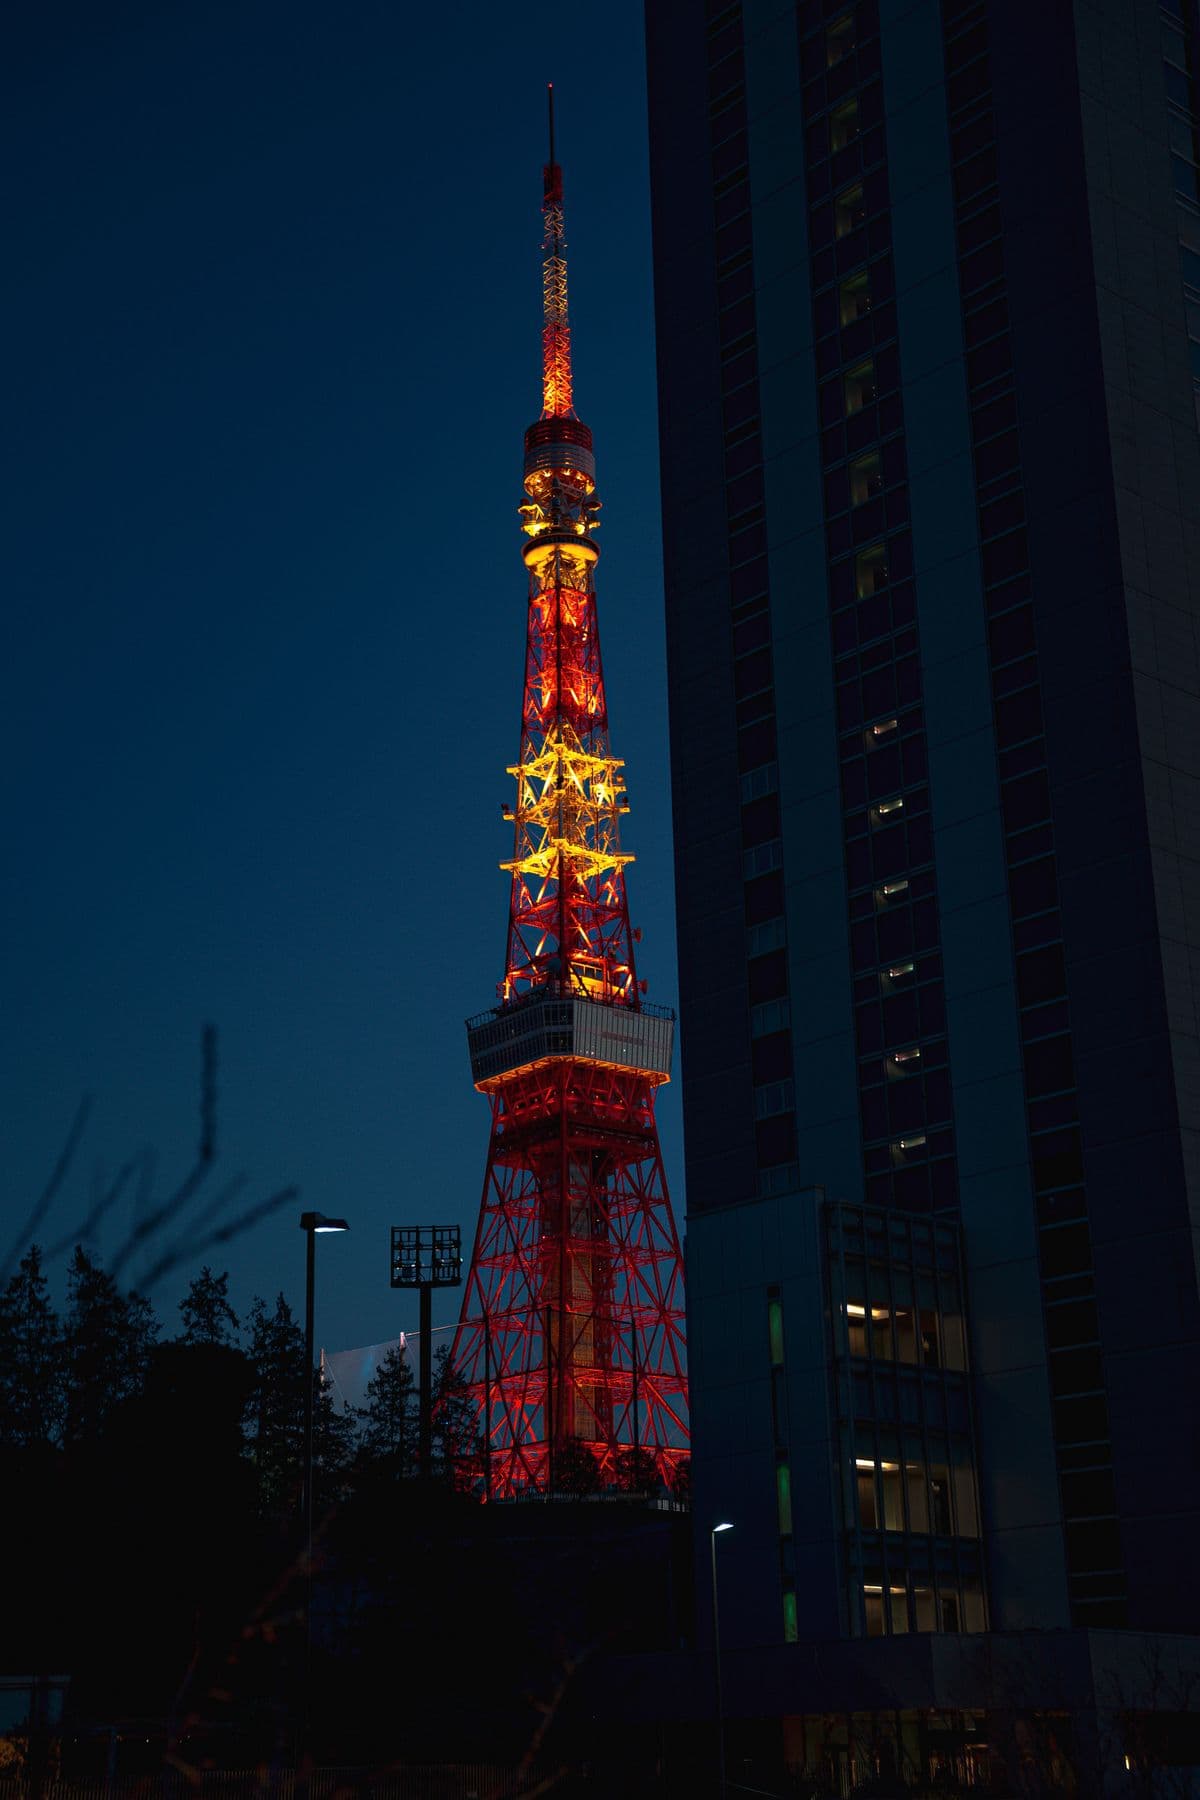
Tokyo Tower opened in 1958 and is 333m tall. This alternative uses an exterior walk; observatory admission is extra.
For an exterior photo and a walk, use Shiba Park as a place to view Tokyo Tower. If you also visit Zojoji Temple, check the temple’s accessible areas and opening hours separately. The park and surrounding buildings give this stop a purpose without buying another observatory ticket.
Budget: separate the stay estimate from tickets
The card uses existing Tokyo budget data for two people, four nights and five days. Follow its stated hotel tier, room occupancy, inclusions and data date. It is not a live quote, and this article's verification date does not mean hotel rates were newly surveyed.
2 adults · 1 room
| Choice that changes the budget | Calculation | Check separately |
|---|---|---|
| Disney·observatories | Add the selected date's tickets for each traveler | DPA, meals and Skytree floors |
| Dining priority | Meal allowance × actual number of meals | Yakiniku·sushi courses, drinks and extras |
| Four-star hotel | Quoted room price × four nights ÷ occupants | Tax, breakfast, cancellation terms, weekends and peak periods |
| Shopping | Set a separate limit by item | Do not fix it at “20% of the total” |
An allowance of ¥50,000–80,000 per person excluding flights and hotels is only one personal spending-limit example, not a universal market price. Use the actual payment exchange rate and do not compare that allowance directly with a card total including accommodation.
Adapt the itinerary in Tripop
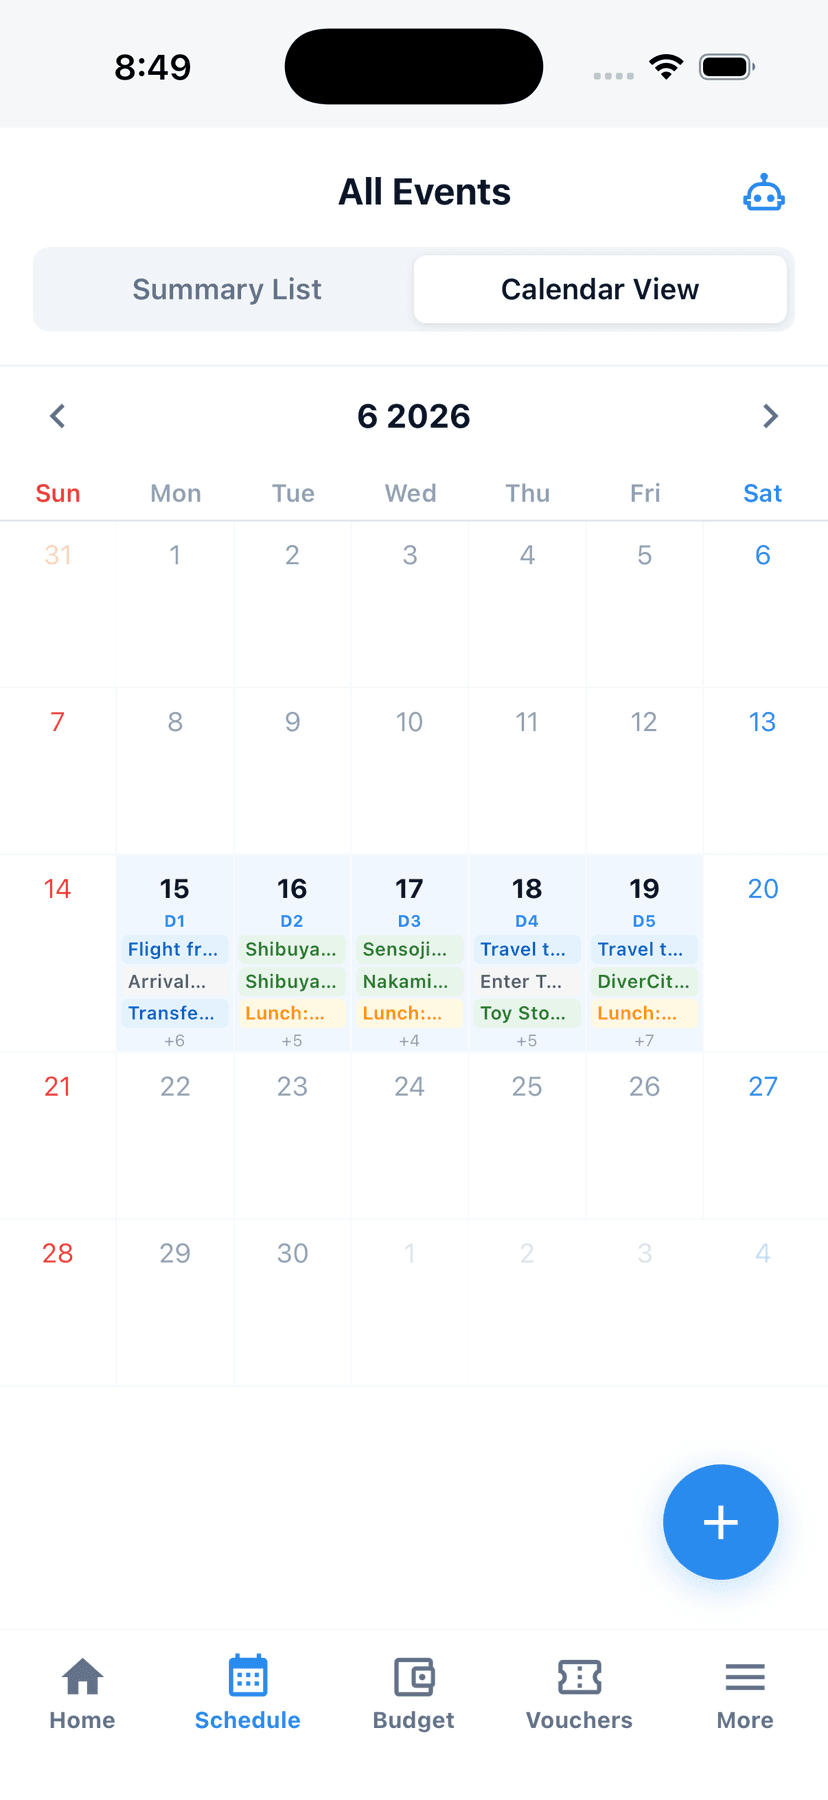
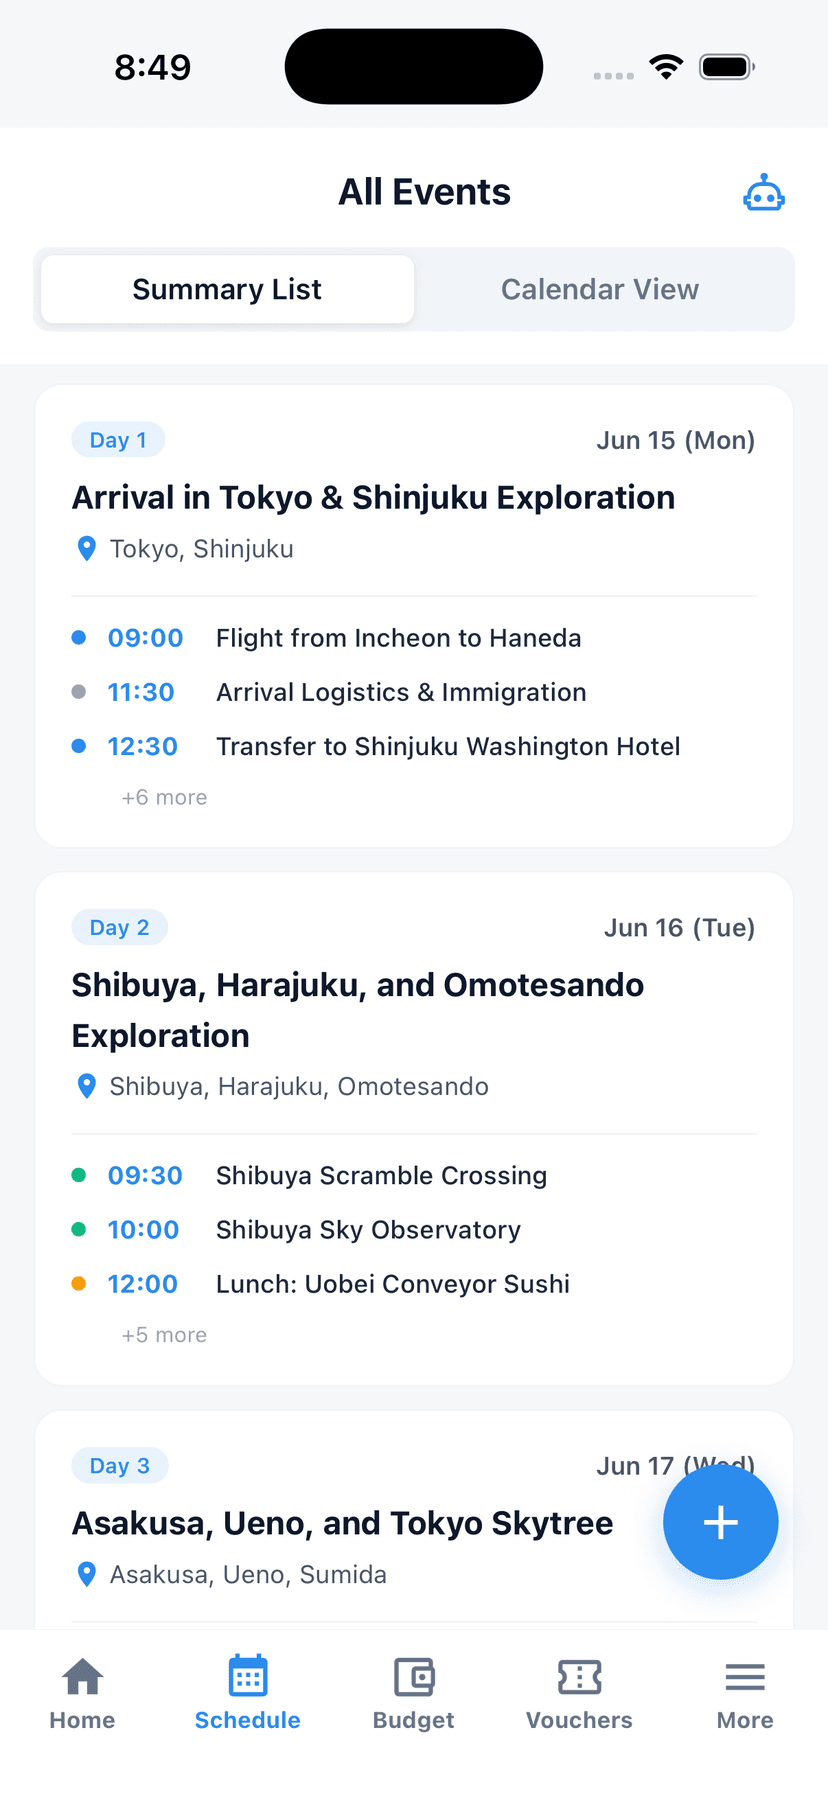
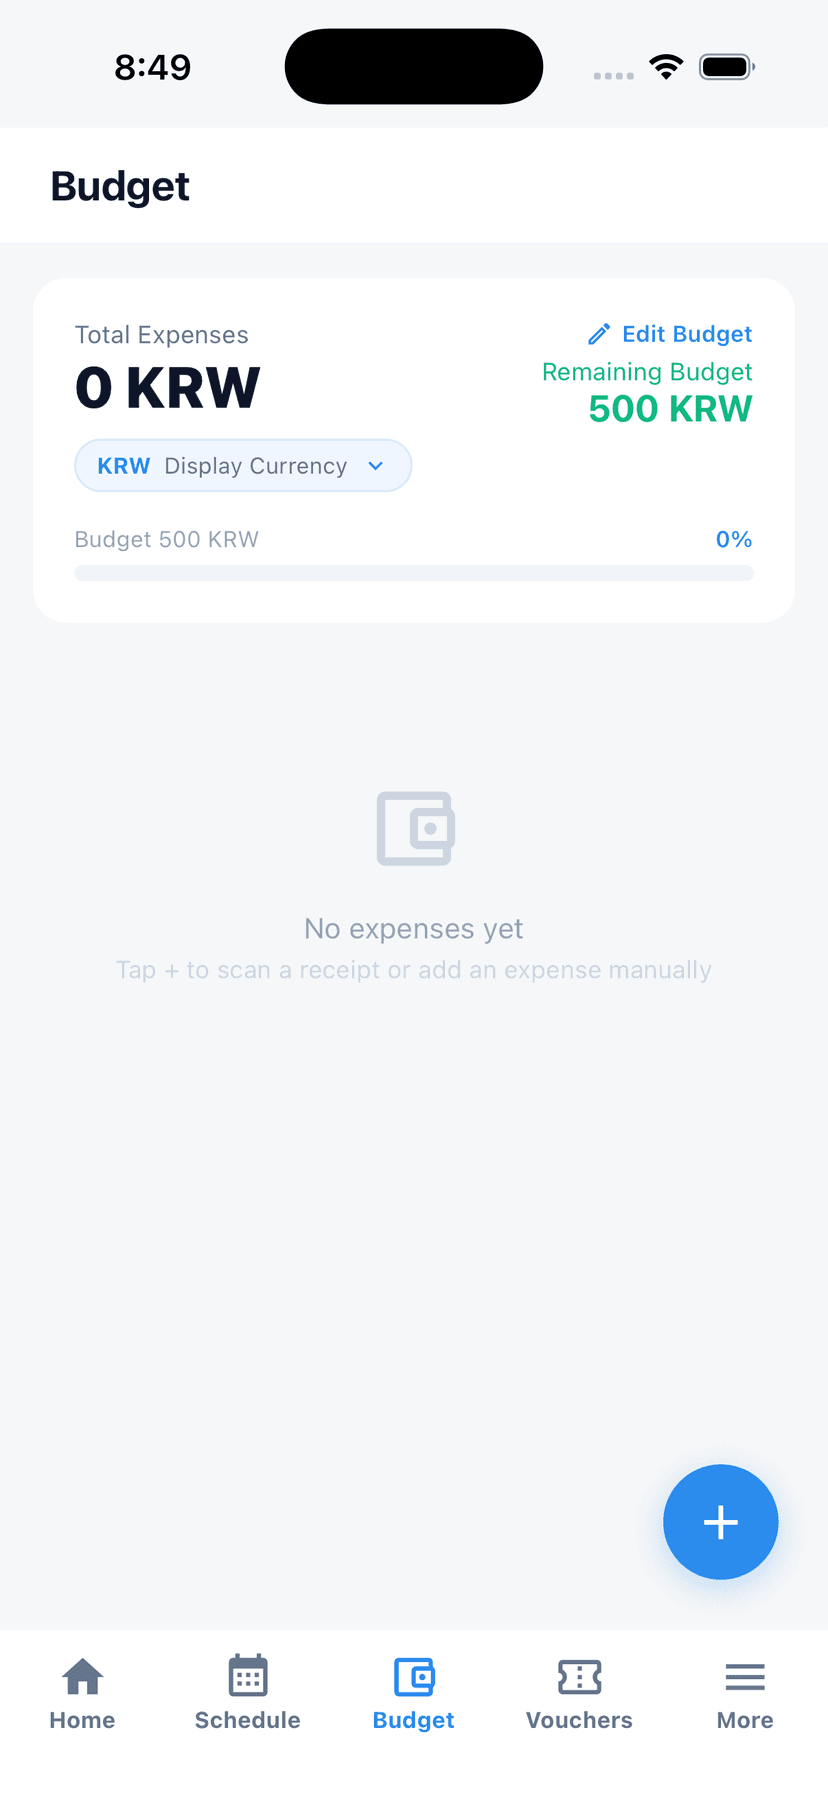
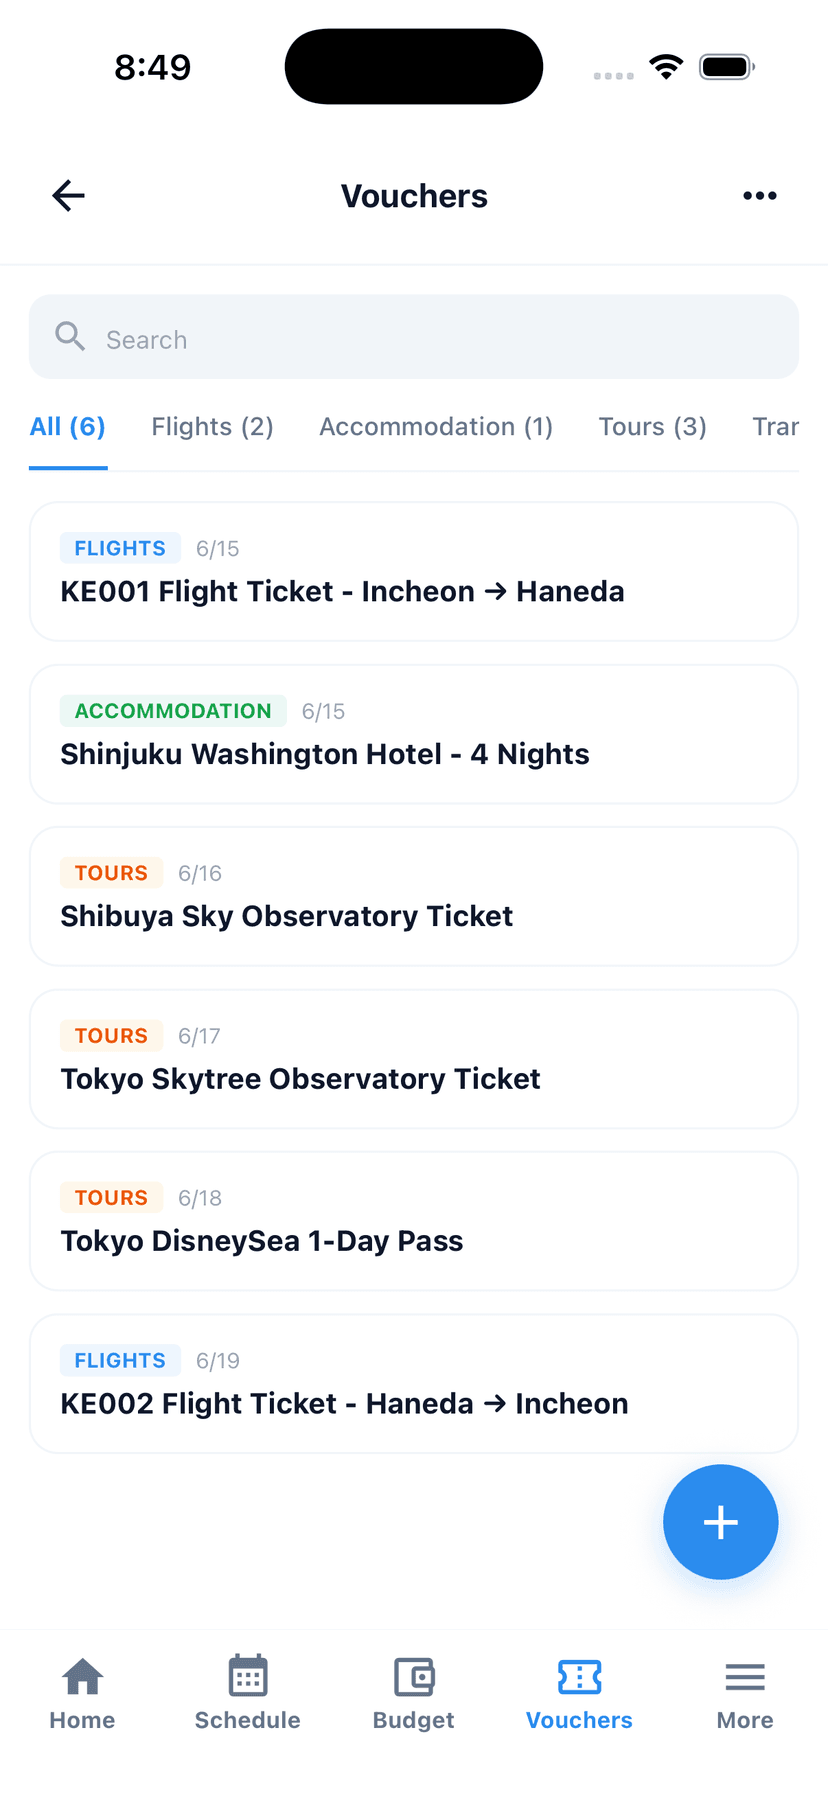
Create a draft with conditions such as “Tokyo, four nights, Shinjuku hotel, one Disney day, evening departure.” Recheck generated travel and opening times before booking, and keep confirmed flights, hotels and tickets together as vouchers. Currency conversion, receipt organization, checklists and companion sharing can be used in the same trip.
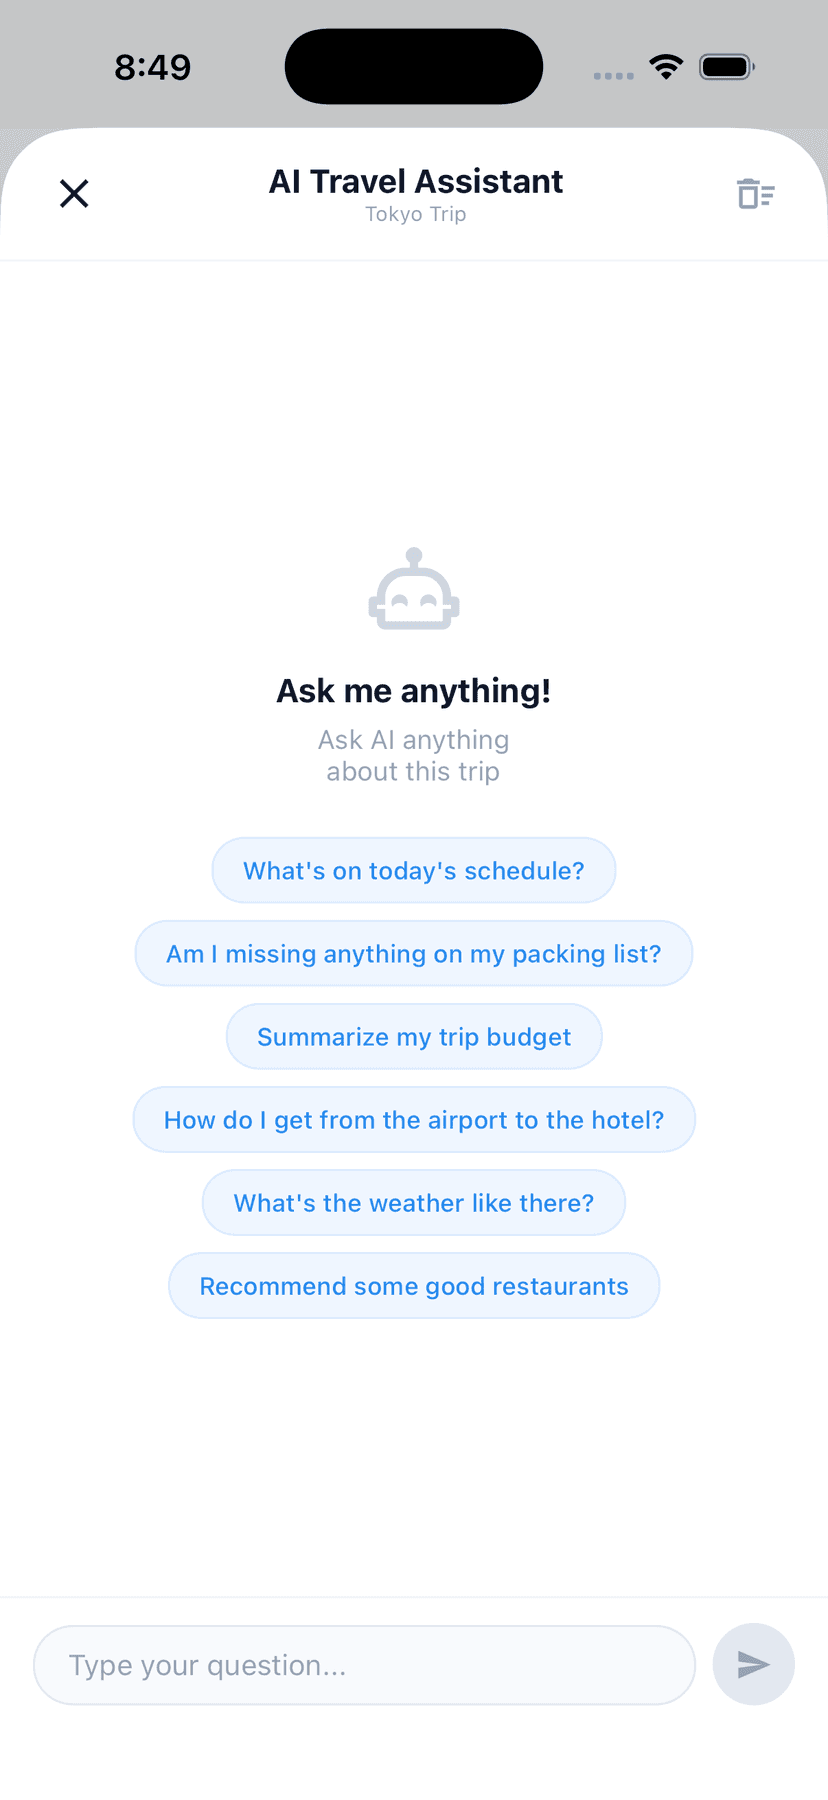
See example itinerary, budget and checklist screens
These existing Tripop screenshots use a sample Tokyo trip. Their flights, dates, budget and tickets are not current availability or confirmed prices.
App Store · Google Play · Create an itinerary on the web
Ichiran ramen · Senso-ji · Tokyo Skytree · Shibuya Crossing
What we verified
On September 13, 2026, Tripop checked the main entry, transport and booking conditions against Japan's foreign ministry and Digital Agency, JR EAST, Keikyu, Tokyo Metro, the Tokyo government and facility operators. AI helped organize research and draft the route; this is not a firsthand trip report. Before visiting, check your date with Japan entry requirements, Visit Japan Web, N'EX, Shibuya Sky, Skytree and Disney tickets. See our editorial policy or contact us for corrections. On September 14, the explanations of what to see and how to group Shinjuku, Harajuku and Tokyo Station were supplemented using GO TOKYO, Meiji Shrine, Tokyo National Museum and First Avenue Tokyo Station.
Reference photos: Pexels · WENCHENG JIANG (Shibuya), Satoshi Hirayama (Kabukicho), Gül Işık (Senso-ji), Alex Brites (Tokyo Tower). Pexels License. App screens: Tripop's own English captures with example trip data.