
A Tripop team guide to version 1.12. Use these features after receiving the 1.12 update from your app store.
Trip planning starts with a place you want to visit and continues until the group has sorted out its spending. Tripop 1.12 connects those steps: save undecided places, reach the next plan from Home, and organize the costs you shared.
Here is where each addition fits into a trip. Explore the Tripop app
Before departure: collect places before choosing dates
Finding a café does not mean you must immediately assign it to Tuesday afternoon. Save it as a place candidate, with a location, note and source link. You can return to the details when your group is ready to plan.
Once you know where you are staying, choose which candidates to add to each day. Keeping ideas separate from confirmed plans makes it easier to start with a short list and build a realistic day around it.
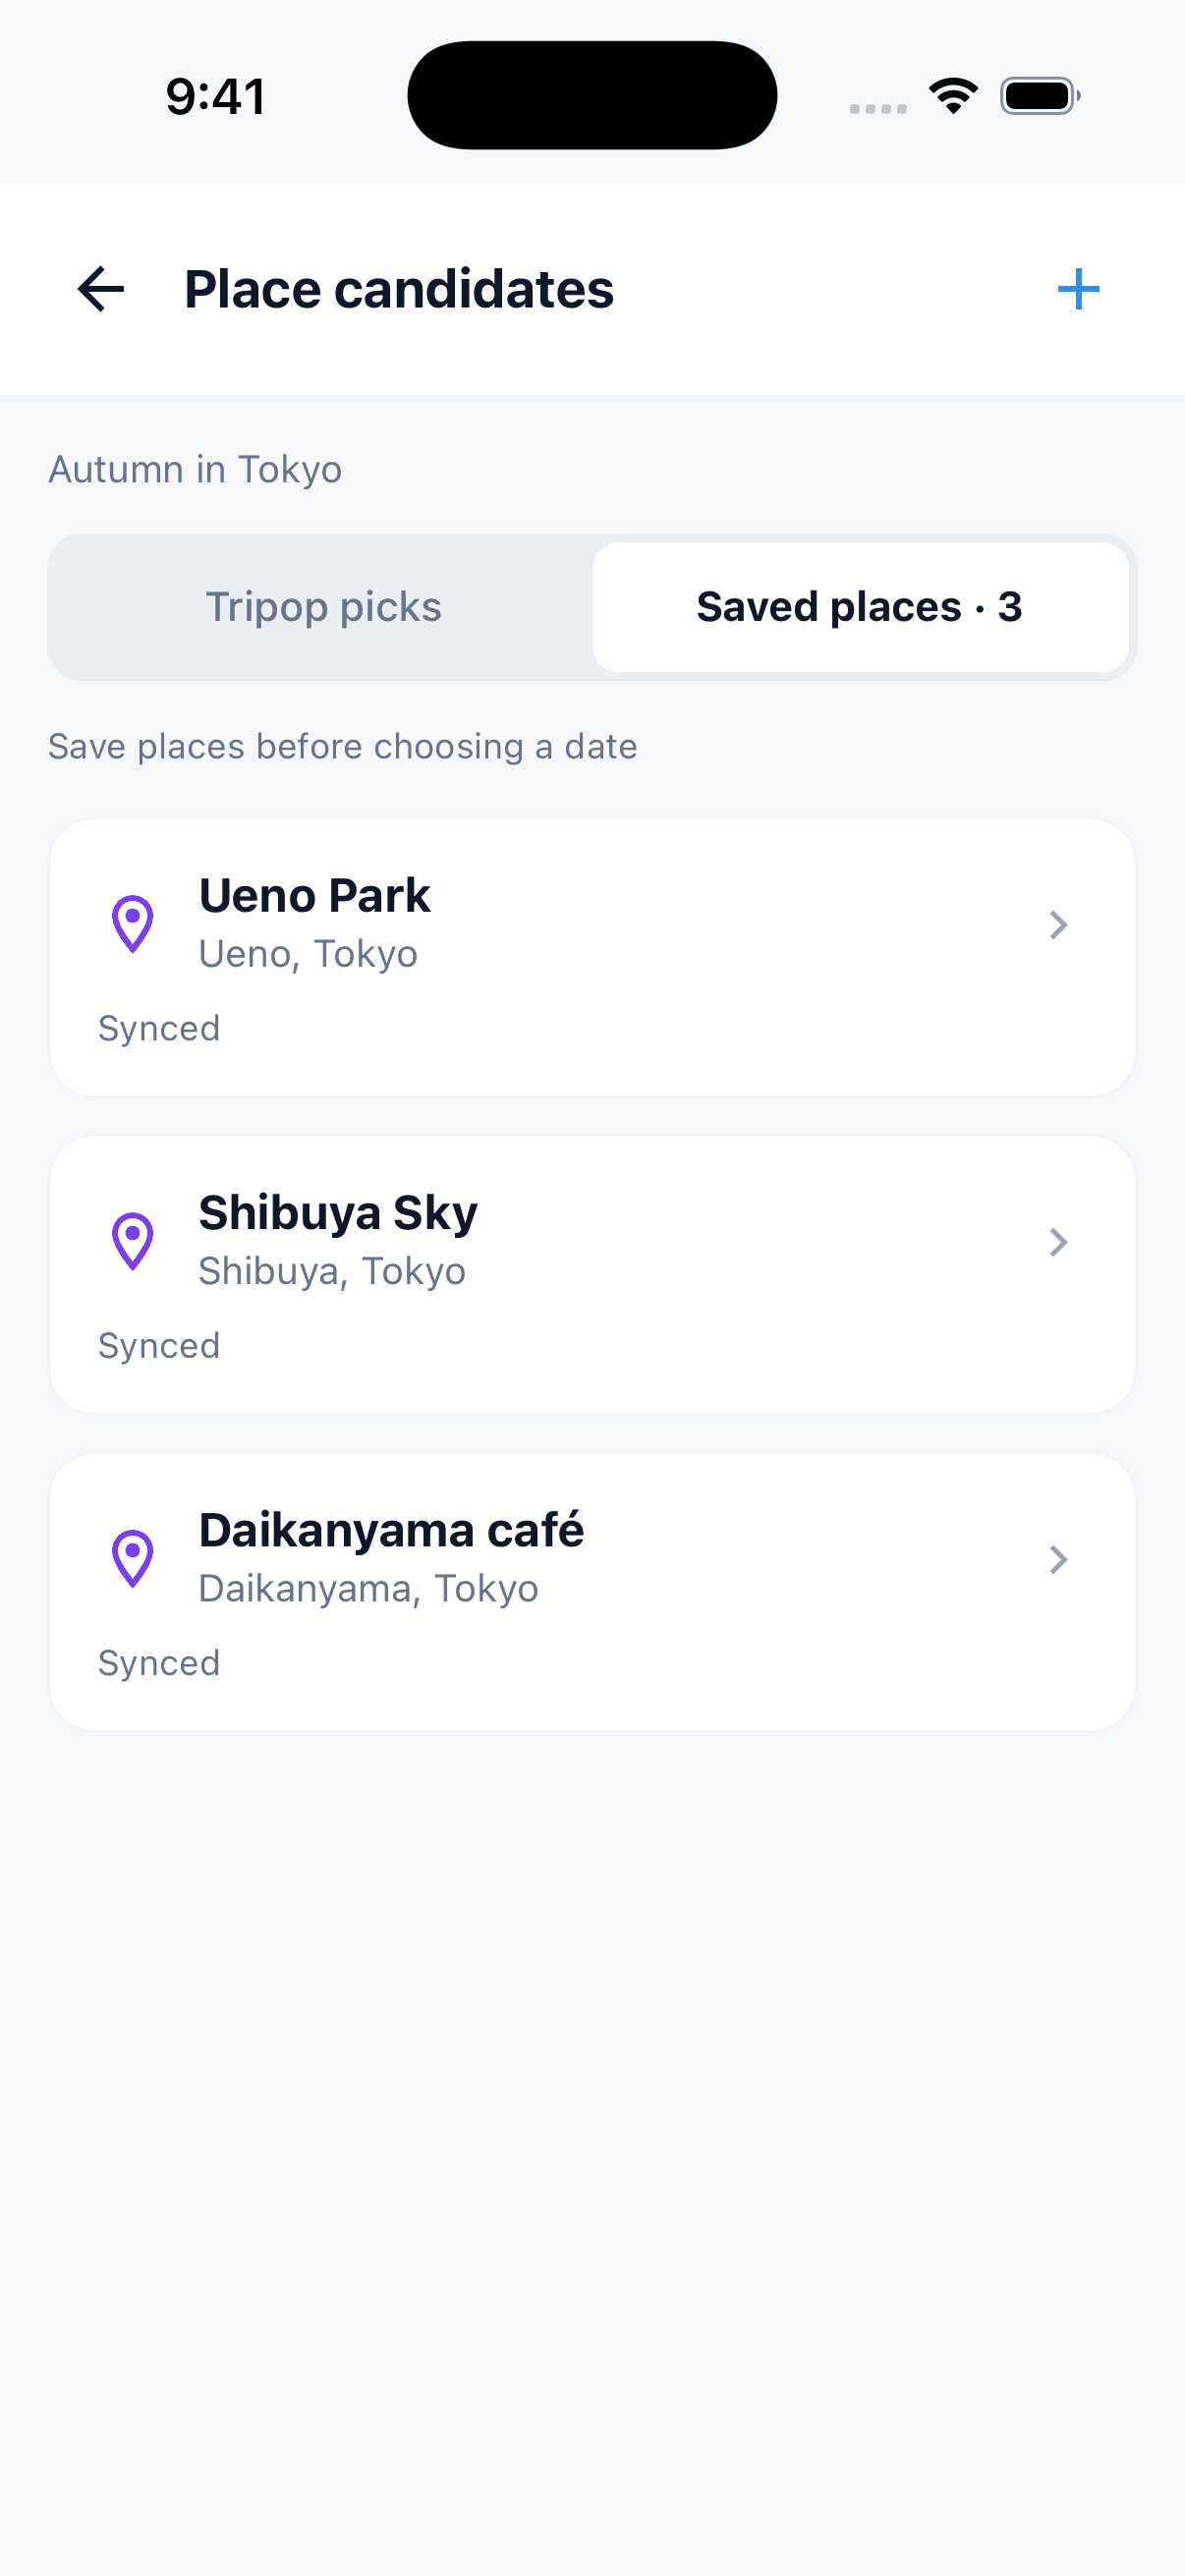
View the places assigned to a day together on the map to see which areas your plan covers. If two stops are far apart, decide whether to move one to another day. Continue with the place candidates and day map guide.
On the trip: go straight to the next plan
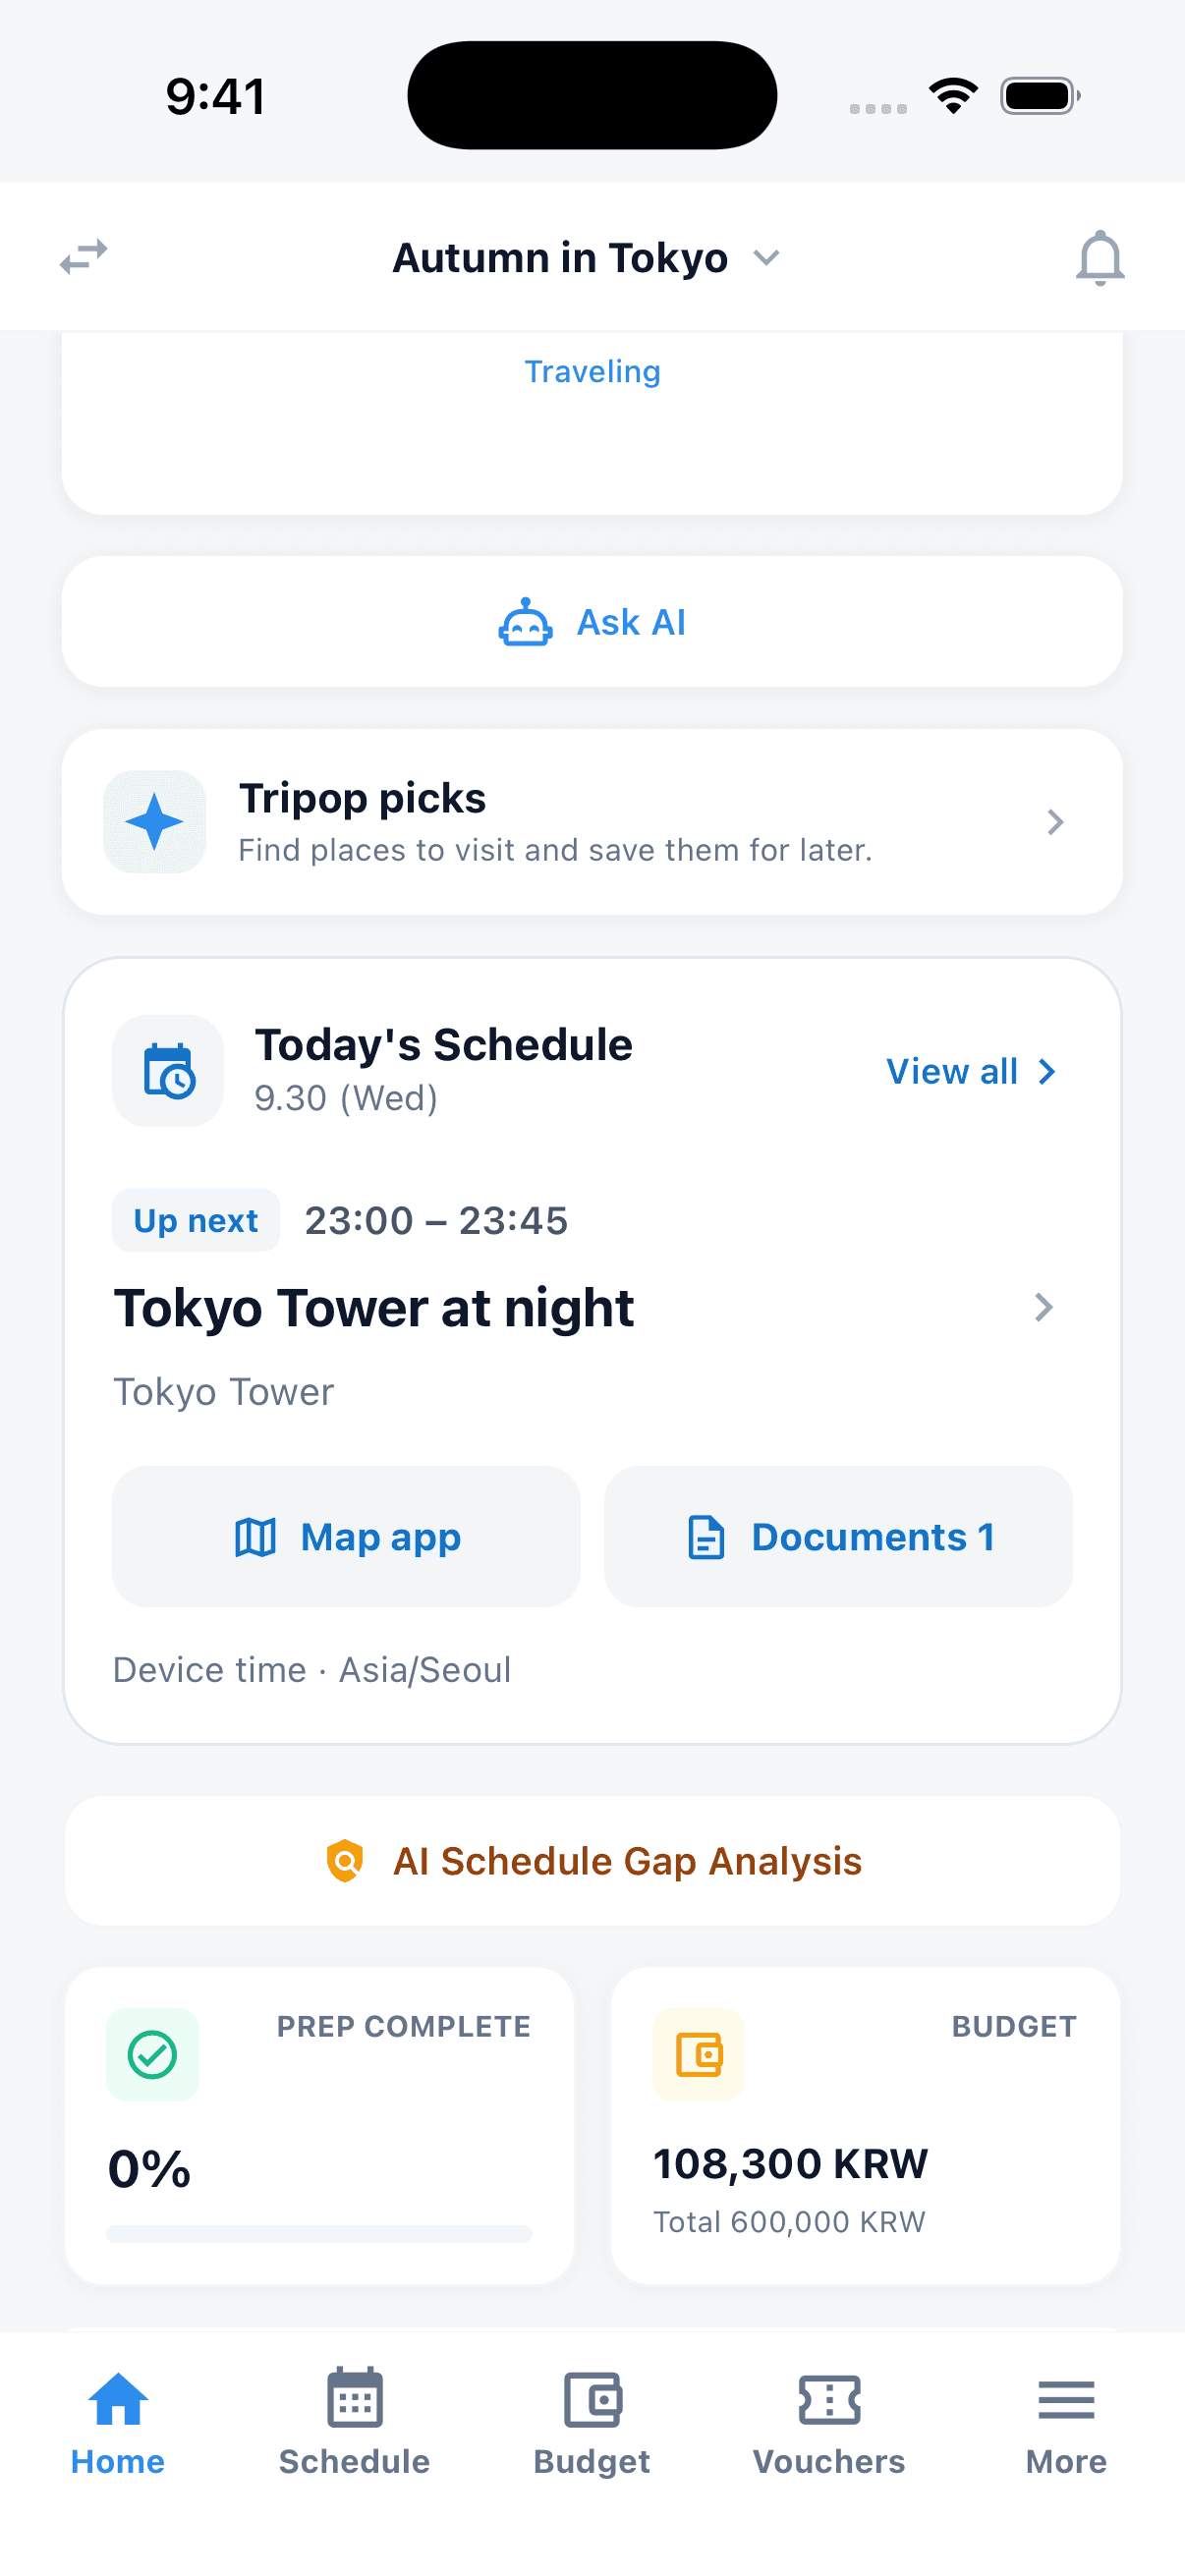
When you are leaving the hotel, the next stop matters more than the whole itinerary. The today’s schedule area on Home brings that plan forward, with shortcuts to its map and linked booking documents.
Check where you are going and open a confirmation attached to that event. The information you organized before departure has a clear entry point when you need it.
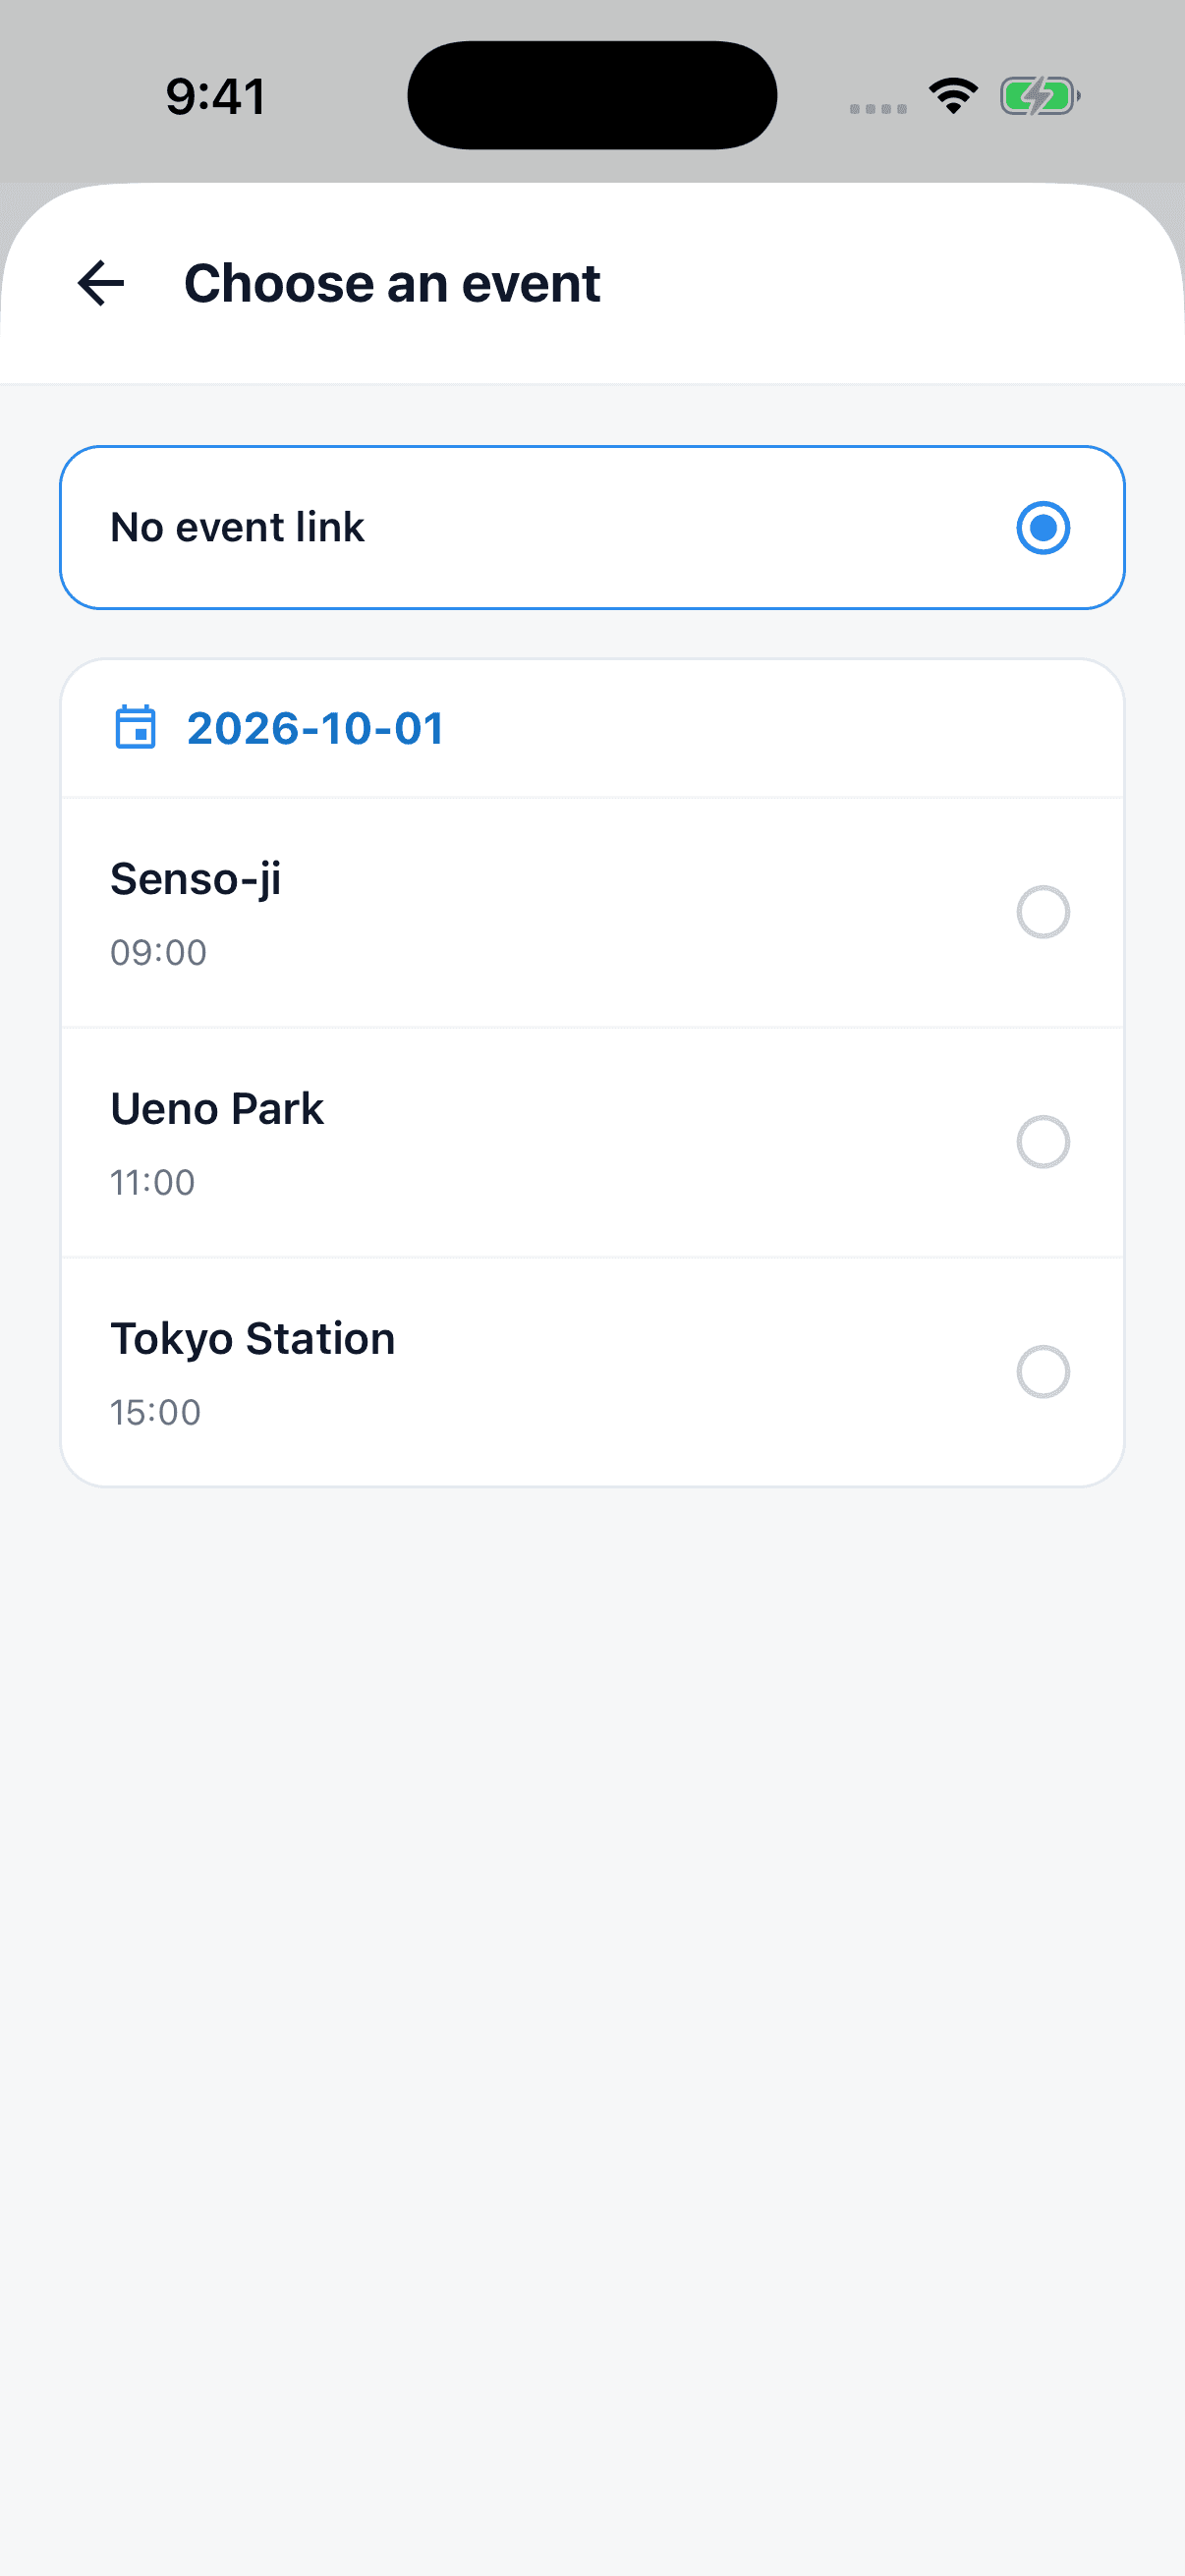
Put a booking document next to the event that needs it
When adding a booking document, use event linking to choose from events grouped by date. Attach the hotel confirmation to check-in so the document is close to the plan it supports.
You can also keep a file without linking an event. Booking documents are managed by signed-in trip owners and editors. The AI booking and receipt guide covers ways to reduce the information you need to type.
Shared spending: divide each expense and share the breakdown
Three people had lunch, but only two took the taxi afterwards. Select the participants for each expense, then choose an equal split or individual amounts. This works for shared meals as well as purchases where everyone owes a different amount.
The settlement view organizes the details by date and person, keeping different currencies separate. Export a long image or text and send the breakdown to your group so everyone can see which costs were included.
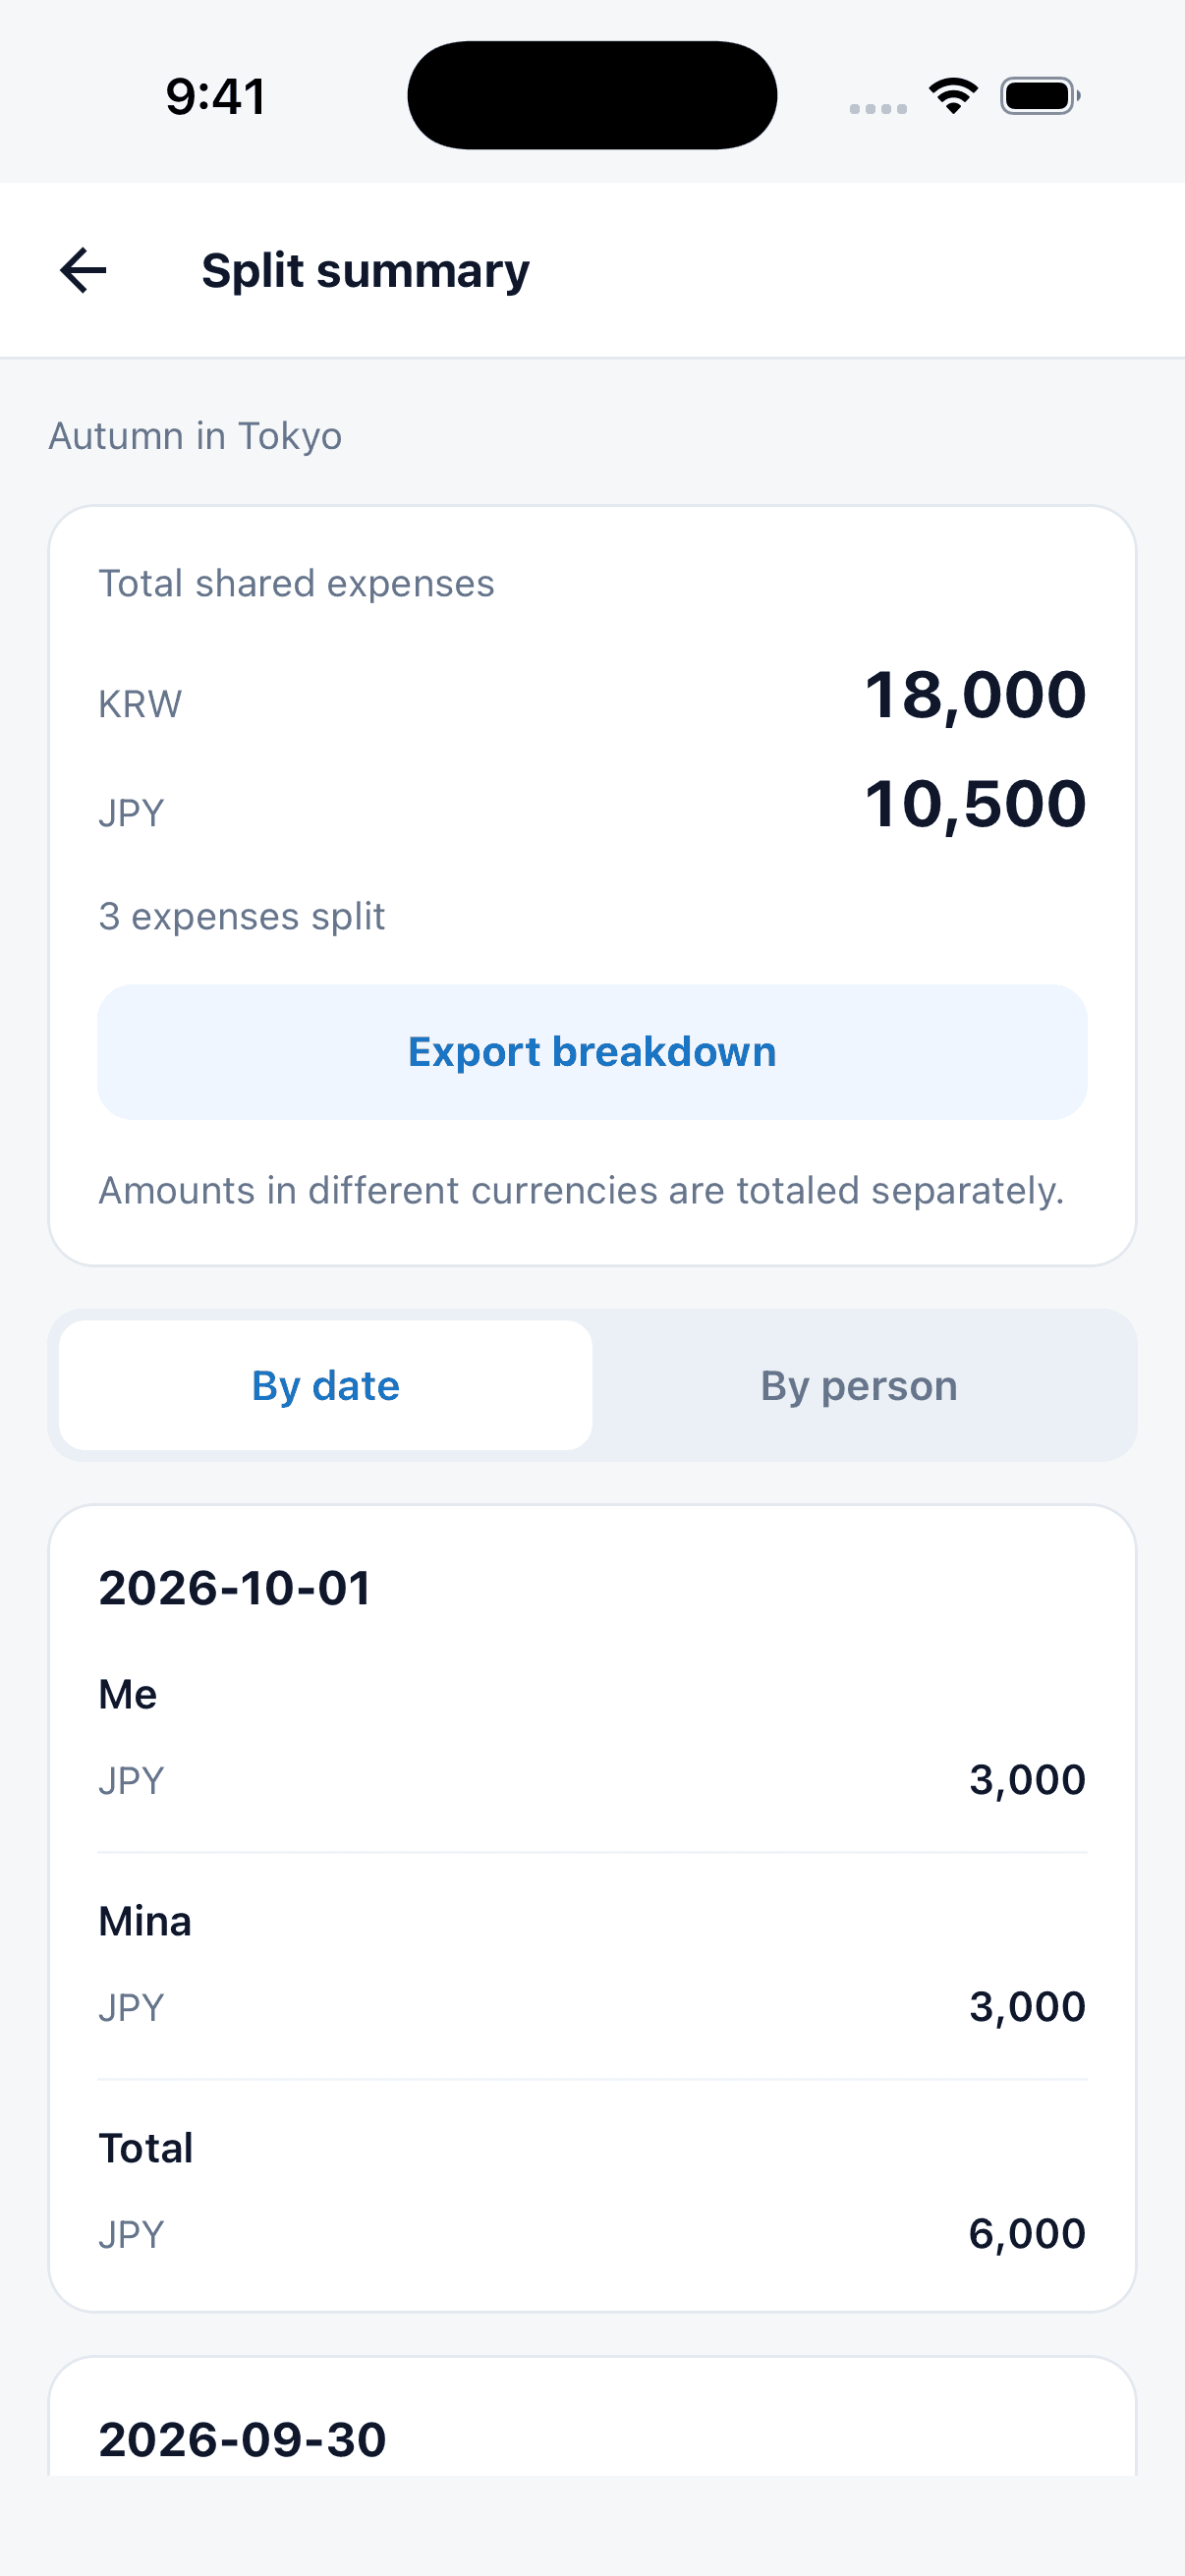
Signed-in trip owners and editors can use this workflow. Follow the travel expense and split guide for the steps.
Start with AI and continue with your own plans
Give AI your destination, dates and preferences to start an itinerary. You can also request specific changes to an existing plan. Check the point requirement on the AI action screen and review the result before continuing with your trip.
Use AI itinerary planning and editing before departure, and AI booking and receipt entry when organizing documents or spending. Place candidates, Home shortcuts and expense summaries keep those plans useful throughout the trip.
Begin with the next thing you need
Save one place and your accommodation confirmation before departure. On the trip, check the next event and record the first expense. You can build up your travel record as you go.